Needlepoint Coasters: Sizes, Finishing and Design Ideas
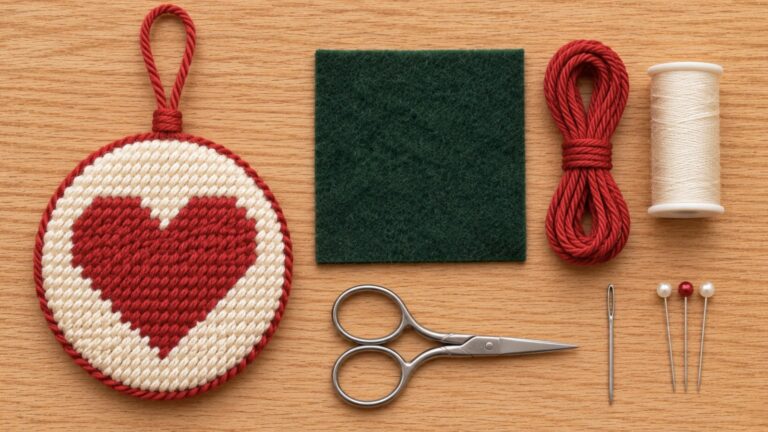
Needlepoint coasters are small, quick, and useful, which makes them a good second or third project. Most are 4 inches across. You can turn the stitched piece into a coaster in two ways: slip it into a ready-made acrylic coaster, or finish it by hand with a backing and a cord edge. This guide explains both.
What size is a needlepoint coaster?
The common size is 4 inches, square or round. Here is how many stitches that is:
| Canvas | Stitches across 4 inches | Total stitches in a 4 inch square |
|---|---|---|
| 13 mesh | 52 | 2,704 |
| 18 mesh | 72 | 5,184 |
On 13 mesh the stitches are bigger and the coaster goes faster. On 18 mesh you can fit more detail. See needlepoint canvas mesh sizes.
Two ways to finish a coaster
| Acrylic coaster | Hand-finished coaster | |
|---|---|---|
| What it is | A clear acrylic coaster that holds a stitched insert | Your stitching mounted on board, with a fabric back and a cord edge |
| Sewing | Little | Some hand sewing and gluing |
| Protection from drips | The acrylic covers the stitching | The stitching is exposed |
| Good to know | The insert has to match the coaster size | You choose the backing and trim |
Acrylic coasters
Self-finishing acrylic coasters are sold in sets, often of four. One set we checked in November 2026 takes a 4 inch round or square canvas, has an interior of 4.25 inches to leave room for the edge finish, and closes with magnets, so you can swap the insert. Buy the coasters first, or check their insert size before you stitch.
How to finish a coaster by hand
This is how one common method works:
- Block the canvas so it lies flat and square.
- Trim the bare canvas to about half an inch around the stitching.
- Cut two pieces of mat board. Make one the size of the design and one slightly smaller. Cut a piece of batting to match the smaller board.
- Mount the front. Layer the canvas over the batting and the smaller board. Fold the canvas margin to the back and lace or glue it down.
- Mount the back. Cover the larger board with backing fabric, such as velvet. Snip the corners, fold the edges over, and glue them.
- Join the two halves with textile glue, wrong sides together. Press them and let the glue dry.
- Sew a cord around the edge to hide the join.
Design ideas for a set
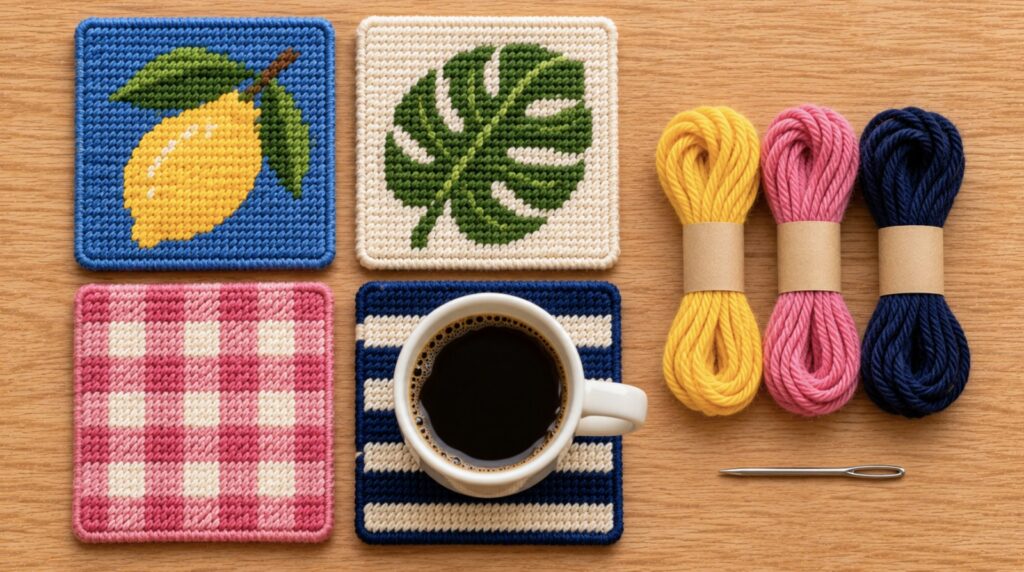
- One theme, four designs: four fruits, four leaves, four shells
- One design in four colors
- Initials, one letter per coaster
- Stripes, gingham, and other simple patterns
Simple shapes with few colors read best at this size.
Stitch and thread
Use tent stitch. It lies flat, so a glass sits level. Skip tall, textured stitches for the same reason. Choose cotton or wool, which stand up to wear. See our needlepoint threads guide.
Coaster kits
A coaster kit usually gives you the canvas and the threads. The finishing materials or the acrylic coasters are often separate, so read the listing. See what a kitted canvas includes and needlepoint finishing.