Free Printable Cross Stitch Graph Paper (11, 14, 16 and 18 Count)
Download free printable cross stitch graph paper in 11, 14, 16 and 18 count. Each page prints on US Letter paper at true size, so one square on the paper equals one stitch on your fabric. Use it to draw your own patterns, plan lettering, or map out a border. New to charting? Follow our guide on how to make your own cross stitch pattern.
Which graph paper should you print?
Pick the page that matches your fabric count. Then your drawing is the same size as the finished stitching.
- 11 count: big squares that are easy to color. Good for kids and for bold, simple designs.
- 14 count: the most common Aida count. Print this one if you are not sure.
- 16 count: for finer designs on 16-count Aida or 32-count evenweave.
- 18 count: for detailed designs on 18-count Aida or 36-count evenweave.
Not sure about fabric counts? Read our cross stitch fabric guide.
How to print it at the right size
- Open the PDF on a computer.
- Choose Print.
- Set the scale to 100% or Actual size. Turn off “Fit to page” and “Shrink to fit”.
- Print on US Letter paper, 8.5 by 11 inches.
- Check it: measure across ten squares of the 14 count page. They should span about 0.71 inches. On any page, the number of squares in one inch should equal the count.
If you only need a grid to sketch on and the true size does not matter, any print setting works.
How to read the page
- Each small square is one cross stitch.
- The heavy lines mark every 10 squares, which makes counting faster.
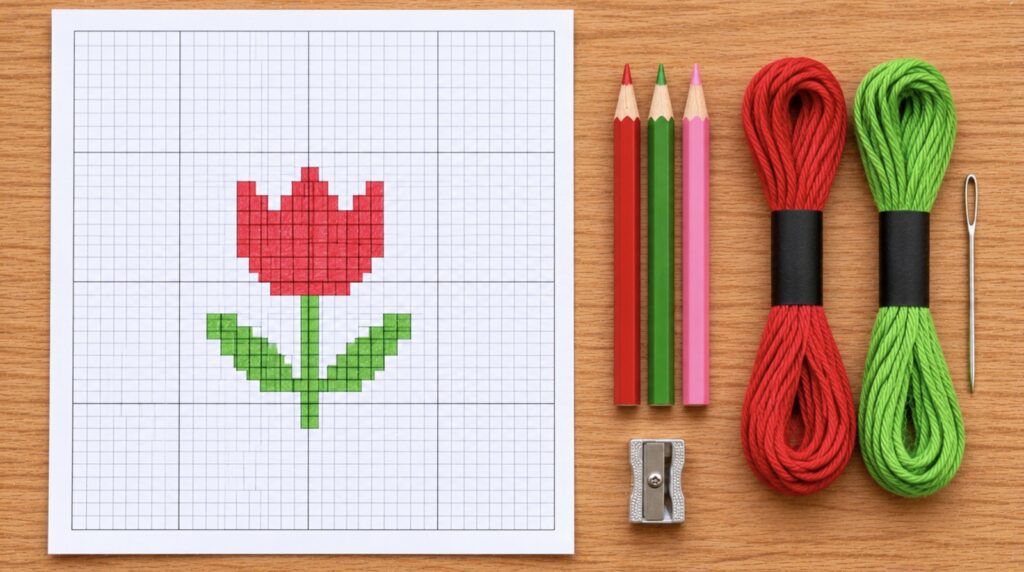
- The pink arrows at the top and the left mark the center of the grid. Start your design where the two center lines meet.
How to draw a cross stitch pattern on graph paper
- Mark the center. Follow the two pink arrows to the middle square and make a small dot.
- Sketch the outline in pencil. Draw the shape lightly. Then turn curves into steps, because every stitch fills one whole square.
- Color the squares. Use one colored pencil for each floss color. Fill whole squares only.
- Make a key. In the margin, color a small box for each pencil and write the floss color number next to it.
- Add back stitch lines last. Draw them as solid lines along the edges of the squares. See how to back stitch.
- Count the size. Count the squares across and down. Enter those numbers in our fabric calculator to see how much fabric to cut.
Common questions
Can I use this paper for needlepoint? Yes. One square equals one tent stitch. The 14 and 18 count pages match 14 and 18 mesh canvas.
Will it work on A4 paper? The pages are US Letter. A4 is a little narrower and taller, so print at 100% and the grid still fits, with slightly smaller side margins.
May I share the PDFs? You may print as many copies as you like for your own use or for a class. Please link to this page instead of posting the files elsewhere.