How to Make Your Own Cross Stitch Pattern (Step by Step)
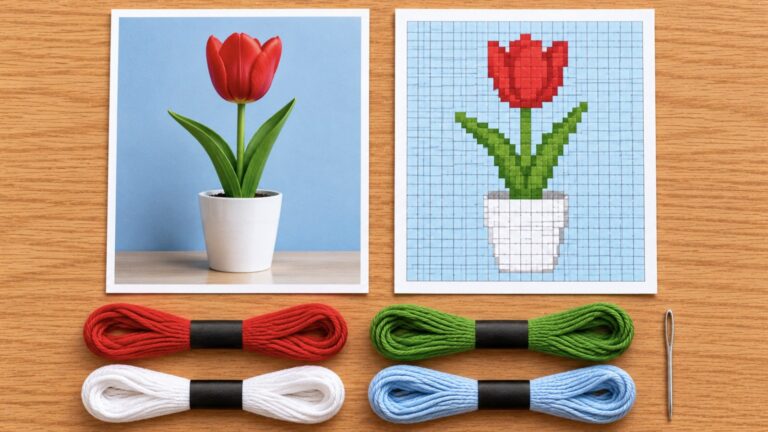
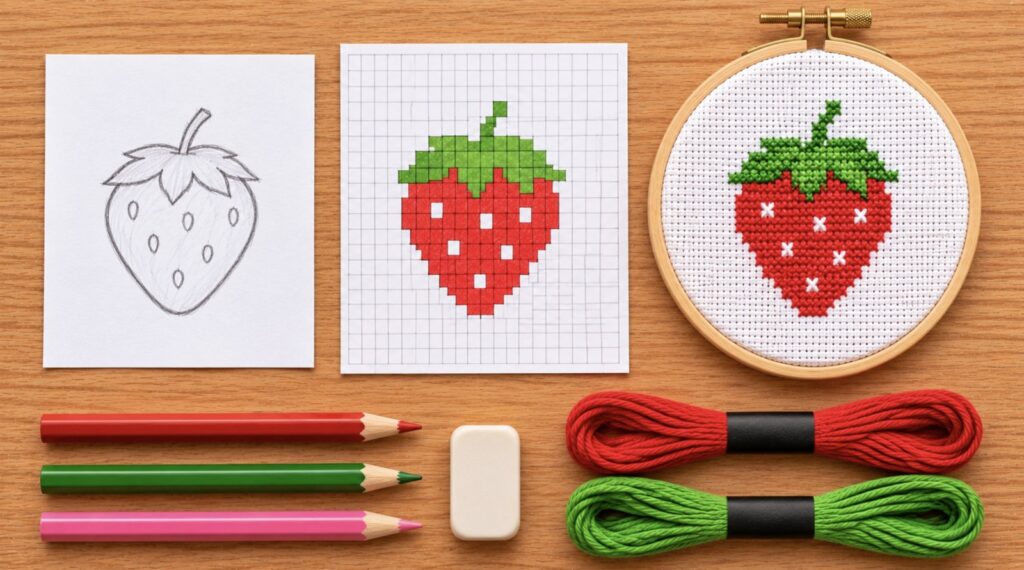
You can make your own cross stitch pattern with a pencil, graph paper, and a few colored pencils. A pattern is a grid where each square stands for one stitch. This guide walks you through the paper method step by step, then shows you the free software route.
What you need
- Graph paper. Print ours free: cross stitch graph paper in 11, 14, 16 and 18 count.
- A drawing or picture to work from
- A pencil and an eraser
- Colored pencils or markers, one for each thread color
- A light source for tracing: a sunny window, a tablet screen, or a light box
Step 1: Decide the size
Size comes first, because it sets how much detail you can fit. Work in stitches, then convert to inches.
- Stitches ÷ fabric count = inches. A design 42 squares wide on 14-count Aida is 3 inches wide.
- Inches × fabric count = stitches. A design 4 inches wide on 14-count Aida needs 56 squares.
Our fabric calculator does this math and adds the margin. For a first pattern, stay under 50 squares each way.
Step 2: Pick graph paper that matches your fabric
Use paper with the same count as your fabric, such as 14 squares per inch for 14-count Aida. Your drawing is then the same size as the finished stitching. Before you draw, measure one inch on the printed page and count the squares, to make sure the paper printed at true size.
Step 3: Trace the outline
- Tape your picture to a window or lay it on a lit tablet.
- Lay the graph paper on top.
- Trace the main shapes lightly in pencil. Skip the small details for now.
No picture to trace? Draw straight onto the graph paper.
Step 4: Turn the lines into squares
A stitch fills a whole square, so every curve becomes a set of steps. Go around your pencil outline and decide, square by square, whether each one is in or out. A simple rule: color a square if the shape covers more than half of it.
Expect to erase and redo this a few times. Most shapes do not land neatly on the grid.
Step 5: Color it in
Fill each square with the colored pencil that stands for its thread color. Use few colors. Three to six is plenty for a first design, and every extra color means another skein to buy.
If dark colors hide the grid lines, color the squares lightly, or put a dot or small symbol in each square. Printed patterns use a different symbol for each color for the same reason.
Step 6: Add a key
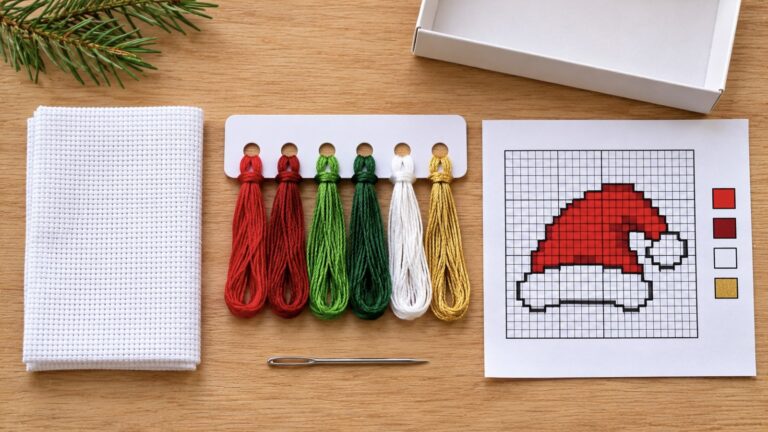
In the margin, draw one small box for each color. Next to it, write the floss brand and color number you plan to use. Hold your skeins next to the paper in daylight to pick the closest match. For help with floss, see our cross stitch thread guide.
Step 7: Add the details
- Back stitch: draw outlines and fine lines as solid lines over the grid. See how to back stitch.
- French knots: mark them with a bold dot.
- Not enough detail? Make the design bigger, or move to a higher count.
Step 8: Check it
- Count the squares across and down, and write the totals on the page.
- Mark the center of the design. You will start stitching there.
- Stitch a small part first. Colors look different in thread than in pencil.
A shortcut for symmetrical designs
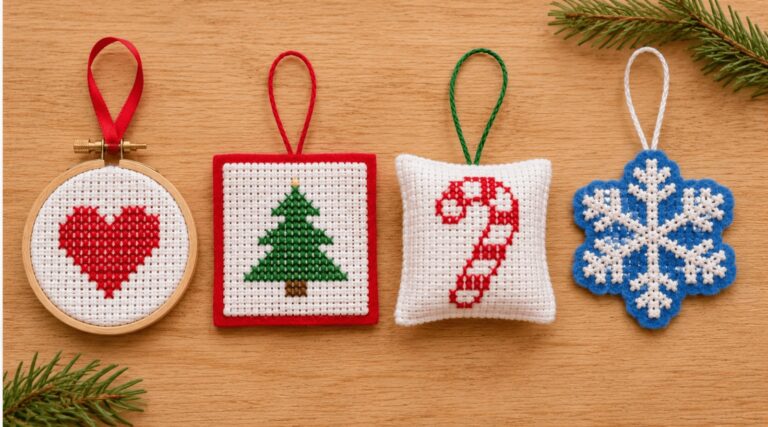
For a heart, a snowflake, or anything with two matching halves, find the center line and draw one half. Fold the paper along the center line and use the first half as a guide to mark the second.
Make a pattern with free software
Online chart makers do the same job on a screen. Stitch Fiddle is one free example: you pick a floss brand, set the size in stitches, and click squares to fill them with color. It prints a chart with a color key.
| Graph paper | Software | |
|---|---|---|
| Cost | Almost nothing | Free tools exist. Paid versions add features. |
| Changing your mind | Erase and redraw | Click to change |
| Color key | You write it | Made for you |
| Best for | Small, simple designs | Bigger designs and many colors |
Most chart makers can also turn a photo into a pattern. The result needs cleanup by hand: you reduce the number of colors and fix stray squares. Simple pictures with few colors convert best.
One note on other people’s art
Chart your own drawings and photos for anything you plan to share or sell. Characters, logos, and other artists’ work belong to their owners.