How to Do Needlepoint: A Step-by-Step Guide for Beginners
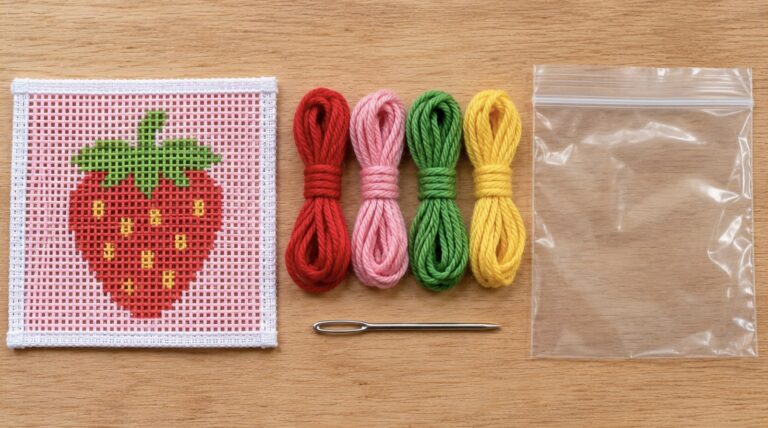
To do needlepoint you stitch a thick thread through the holes of a stiff canvas, one slanted stitch at a time, until you cover the canvas. A beginner needs only four things: a canvas, a blunt needle, thread and scissors. This guide walks through the supplies, the first stitch and the mistakes to avoid.
Not sure needlepoint is the craft you want? Read needlepoint vs cross stitch first.
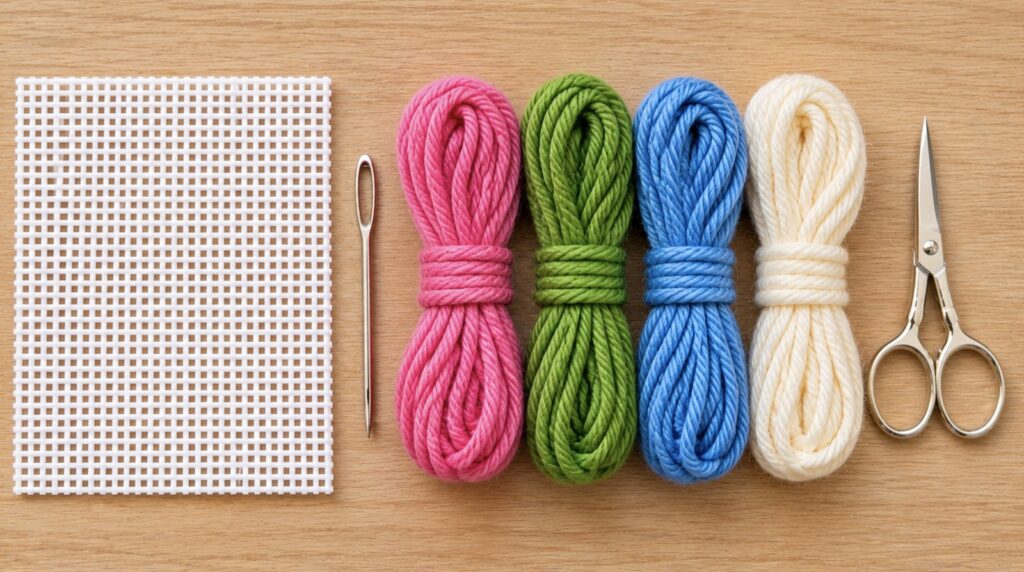
What you need to start
- Canvas. A small painted or printed canvas in 13 mesh is a good first choice. Mesh is the number of holes per inch, so 13 mesh has larger holes and larger stitches than 18 mesh.
- Tapestry needle. This needle has a blunt tip and a long eye. Size 20 suits 13 mesh canvas; size 22 suits 18 mesh.
- Thread. Wool or pearl cotton made for needlepoint. Kits include the right thread for the canvas.
- Small sharp scissors.
- Optional: stretcher bars to hold the canvas flat, and tape to cover the rough canvas edges.
How to do needlepoint, step by step
Step 1: Prepare the canvas
Cover the cut edges of the canvas with masking tape or artist tape so the thread does not catch on them. If you are using stretcher bars, attach the canvas now so that it is flat and firm.
Step 2: Cut and thread the needle
Cut a length of thread about 18 inches (45 cm) long. Longer pieces tangle and wear thin as they pass through the canvas. Fold the end of the thread over the needle, pinch it flat and push the fold through the eye.
Step 3: Start without a knot on the back
Use a waste knot. Tie a knot in the end of the thread and take the needle down through the front of the canvas about an inch away from where you will begin, in the direction you will be stitching. The knot sits on the front. As you stitch toward it, your stitches cover the thread tail on the back. When you reach the knot, snip it off.
Step 4: Make the tent stitch
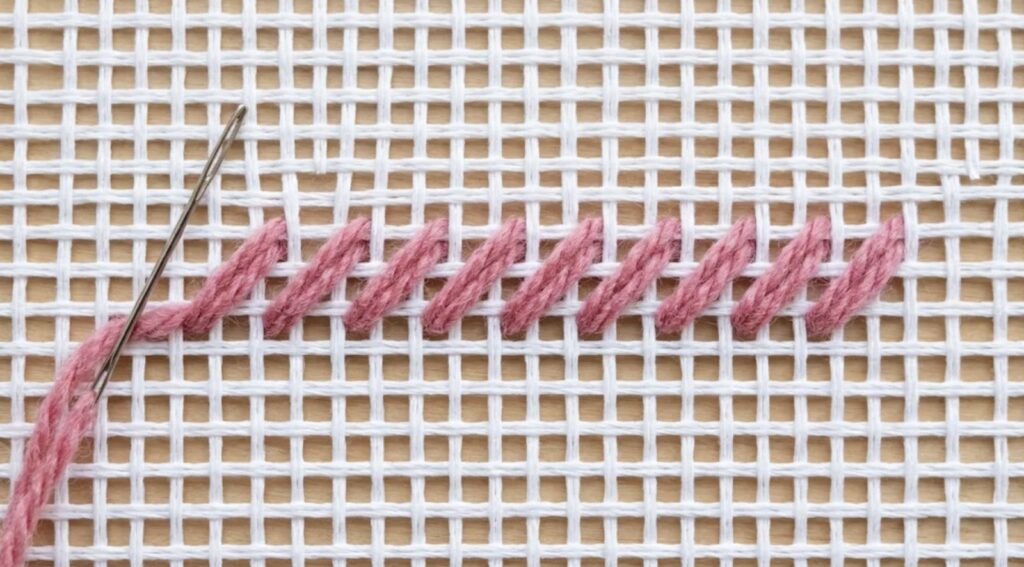
The tent stitch is the basic needlepoint stitch. Each stitch crosses one intersection of the canvas and slants from lower left to upper right.
The continental method works in rows from right to left:
- Bring the needle up through the hole at the lower left of the stitch (1).
- Take it down through the hole one up and one to the right (2).
- Move one hole to the left along the bottom row and bring the needle up again (3).
- Repeat to the end of the row.
For the next row, turn the canvas upside down and work back in the same way, so every stitch still slants in the same direction.
Step 5: Finish a thread
When about 3 inches of thread is left, turn the canvas over and slide the needle under four or five stitches on the back. Pull the thread through and snip it close. Start the next thread the same way as before, or by running it under existing stitches on the back.
Step 6: Fill the canvas
Work one color area at a time. Many stitchers do the lighter colors first, so loose fibers from dark threads do not show up in the light areas. Keep going until no canvas shows.
Continental or basketweave?
Continental and basketweave are two ways of working the same tent stitch. Continental is easier to learn and good for single rows and outlines. You work basketweave in diagonal rows, and it pulls the canvas out of shape less, so it is the usual choice for larger areas and backgrounds. Learn continental first, then add basketweave.
Tips for neat stitches
- Do not pull tight. The thread should lie flat on the canvas without bending it.
- Let the needle hang every few stitches so the thread can untwist.
- Keep every stitch slanting the same way.
- Avoid long jumps on the back. End the thread and start again if the next area is more than a few holes away.
- Use good light. Canvas holes are easier to see against a solid, light surface.
What to do when the canvas is finished
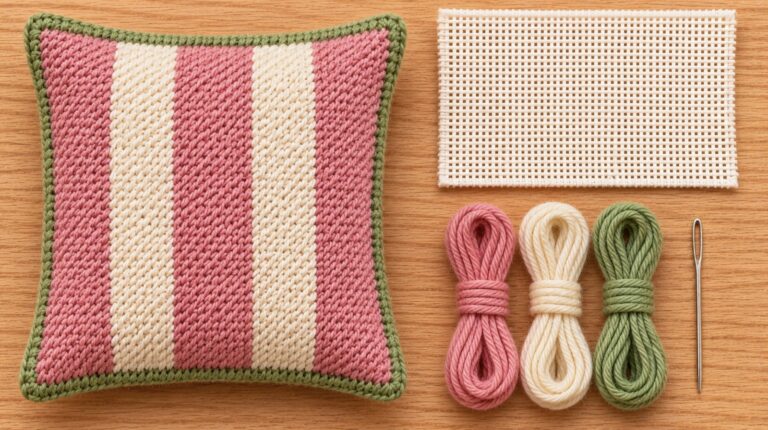
A finished needlepoint is often slightly out of square. Blocking fixes this: you dampen the canvas, pull it back into shape, and pin it until it dries. After that, you or a finishing service can frame it or make it into a pillow, ornament or other item.
Common beginner mistakes
- Using thread that is too long.
- Pulling stitches so tight that the canvas warps.
- Mixing stitch directions in one area.
- Leaving knots on the back, which make bumps on the front.
- Choosing a large, detailed canvas as a first project. Start small.
Common questions
Is needlepoint hard to learn?
No. Most beginners learn the tent stitch in one sitting. Getting even tension takes a little practice.
How long does a needlepoint project take?
It depends on the size and the mesh. A small ornament can take a few evenings; a pillow front can take weeks.
Do I need a frame?
Not for a small piece. Stretcher bars help on larger canvases because they keep the canvas flat and your tension even.