How to Turn a Photo Into a Cross Stitch Pattern
You can turn a photo into a cross stitch pattern with an online converter. You upload the picture, set the size and the number of colors, and the tool gives you a chart with a thread key. The result depends mostly on the photo you choose and the settings you pick. This guide walks you through both.
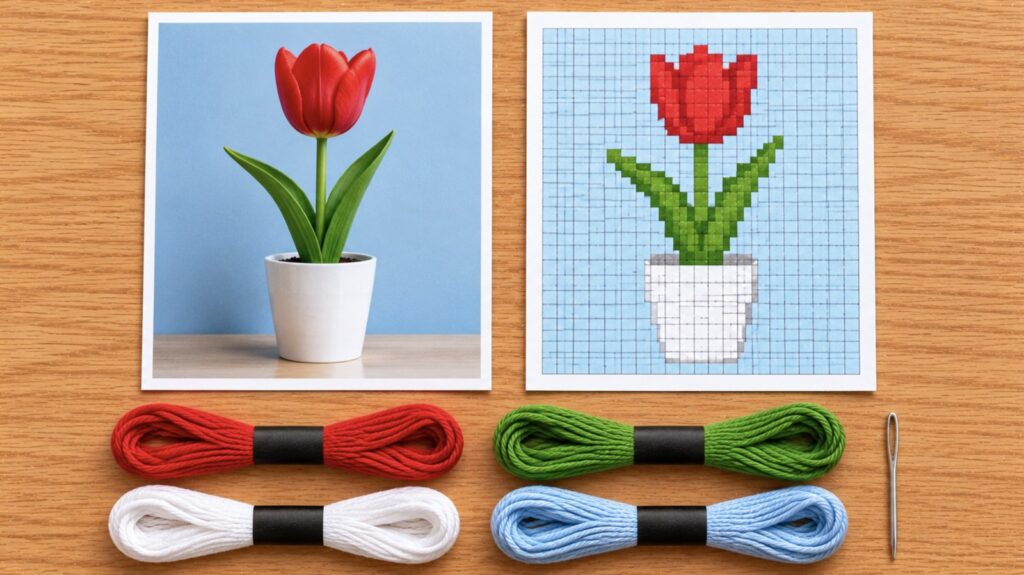
Step 1: Choose the right photo
A converter can only work with what you give it. Pick a photo with:
- A sharp, in-focus subject. Blurry and low-resolution photos make muddy charts.
- Good light. Very dark photos lose their detail.
- A solid background, such as a wall or the sky. Busy backgrounds turn into scattered single stitches.
- Clear contrast between the subject and the background.
- A subject that fills the frame. Crop out everything you do not need.
Avoid photos taken from far away, reflections, and any lettering in the picture.
Step 2: Decide the size
Size controls detail. More stitches hold more detail, and they take longer to stitch. Decide the finished size you want, then let the fabric count set the stitch count.
| Finished width | On 14-count | On 18-count |
|---|---|---|
| 5 inches | 70 stitches | 90 stitches |
| 8 inches | 112 stitches | 144 stitches |
| 10 inches | 140 stitches | 180 stitches |
A higher count gives more stitches in the same space, so the picture looks sharper, but the stitches are smaller. Use our fabric calculator to check the size and the fabric to cut.
Step 3: Set the number of colors
Fewer colors give a simpler, more graphic look, and they cost less in thread. More colors look closer to the photo. Converters that pick the count for you often land between 20 and 35 colors for a photo. For a first photo project, try a low setting and see whether the picture still reads.
Step 4: Convert it
These tools turn photos into charts. We checked each site in November 2026. Features and prices change, so look again before you rely on one.
- Stitch Fiddle: an online pattern maker for cross stitch and other crafts. You can edit the chart square by square. It has a pricing page for premium plans, so check what the free version covers.
- Pic2Pat: a free online converter. You choose the photo, then set the size, the fabric, and the number of colors. You download the chart as a PDF, with a list of floss colors and the number of skeins you need.
- FlossCross: a free online pattern maker that works without registration. You can import a pattern from a photo and export the chart as a PDF.
- DMC Stitch Your Photos: DMC’s service. You pick the size, fabric count, and maximum colors, and you get a PDF chart keyed to DMC threads.
Step 5: Clean up the chart
Almost every converted chart needs hand editing. Look for:
- Single stray stitches. One square of an odd color in a field of another. Change it to match its neighbors.
- Colors that look alike. Merge near-twins into one color.
- A messy background. A solid background converts best. If yours came out busy, replace it with one flat color, or leave it unstitched.
Step 6: Stitch a test area
Before you buy thread for the whole chart, stitch a small, important area, such as an eye or a petal. Colors look different in thread than on a screen.
What to expect
- A photo chart has many colors and many color changes. It takes patience.
- Work one small area at a time, and finish one color in that area before you start the next.
- Pick a simple subject for your first try, such as a pet, a flower, or a building against a solid background.
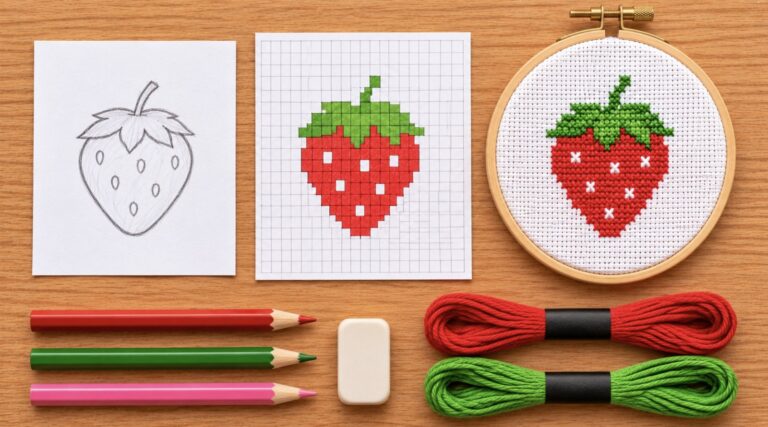
For designs you draw yourself, see how to make your own cross stitch pattern. To sketch by hand, print our free cross stitch graph paper.
Use your own photos
Convert photos you took yourself, or ones you have permission to use. Photos and artwork by other people belong to them.