Counted Cross Stitch Christmas Stockings: A Guide for First-Timers
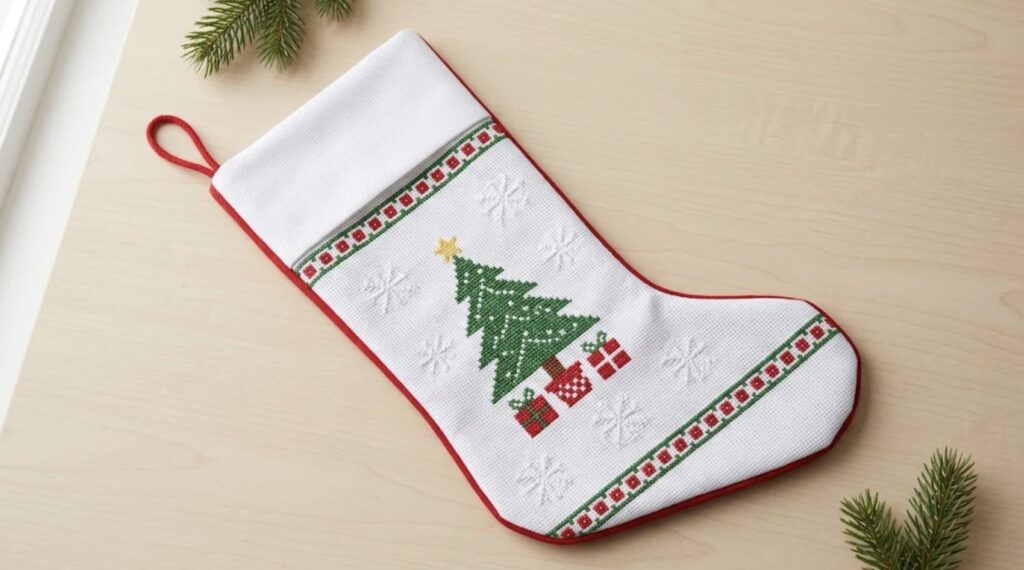
A counted cross stitch Christmas stocking is one of the biggest holiday projects you can stitch. You work the design on fabric from a chart, then sew the stitched piece into a stocking. It takes time, but you end up with an heirloom that comes out of the box every December.
What to expect
- Size. Many stocking kits make a stocking about 16 inches long.
- Fabric. 14-count Aida is common.
- Stitches. You make thousands of cross stitches. Your chart shows any other stitches the design uses.
- Time. Plan on months. Start early in the year if you want it ready for Christmas.
Kit or pattern?
Stocking kits
A typical counted cross stitch stocking kit includes the fabric, pre-sorted cotton floss, a needle, instructions, felt for the back of the stocking, and an alphabet so you can add a name. A kit is the simplest way to start because everything matches.
Stocking patterns
With a pattern, you buy the chart and choose your own fabric, floss, and backing. This gives you more freedom, and it takes more planning.
Counted cross stitch or felt applique?
Stores sell two very different kinds of stocking kits, and the boxes can look alike.
- Counted cross stitch stockings use Aida or a similar fabric and a chart.
- Felt applique stockings use cut felt shapes that you sew together and decorate with sequins and beads.
Read the front of the package to make sure you get the kind you want.
What you need
- The kit, or a pattern with fabric and floss
- A size 24 tapestry needle for 14-count fabric
- A hoop or a frame
- Small sharp scissors
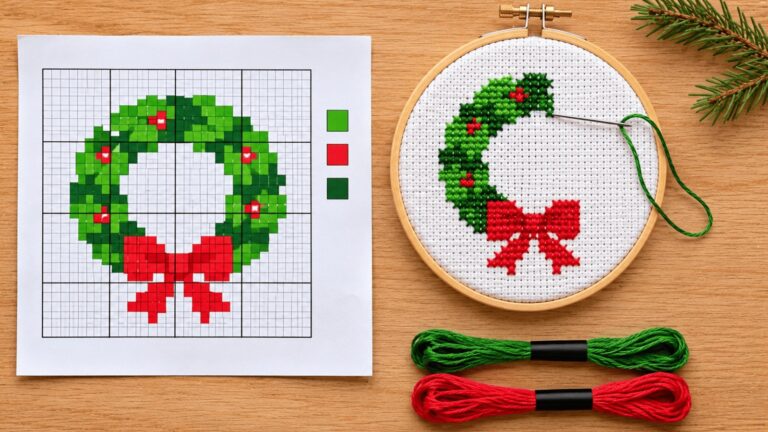
- A highlighter or pencil to mark the chart
- Good light
Tips for stitching a stocking
- Start in the center. Find the center of the fabric and the center of the chart, and begin there.
- Work one section at a time. Finish a block of the chart before you move on.
- Mark the chart as you go. On a big chart, it is easy to lose your place.
- Keep your top stitches going the same way. This keeps the whole piece even.
- Stitch a little most days. Short, regular sessions finish a big project.
- Keep the piece clean. Wash your hands before you stitch, and store the stocking in a bag between sessions.
How to add a name
Most stocking designs leave a band at the top for a name. Use the alphabet chart that comes with the kit or pattern.
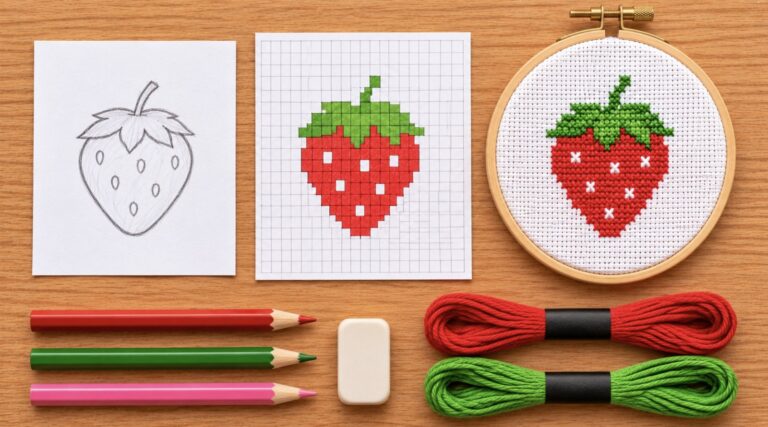
- Write the name on graph paper, one letter at a time, with the spacing the chart shows.
- Count the total width in stitches.
- Find the center of the name and the center of the band.
- Stitch from the center outward so the name sits in the middle.
How to finish the stocking
Follow the finishing steps in your kit or pattern. In general, you trim the stitched fabric around the stocking shape with a seam allowance, sew it to the backing, turn it right side out, and add a hanging loop. Many stitchers add a lining so the back of the stitching stays protected. If you do not sew, a finishing service or a local seamstress can do this step for you.
Common questions
Is a stocking too hard for a beginner?
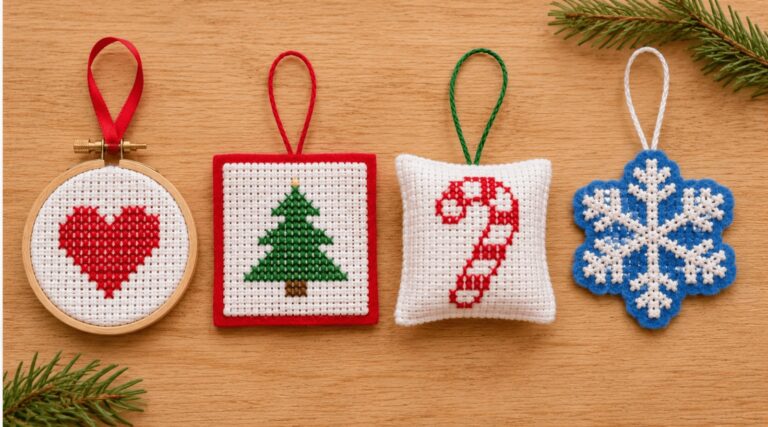
The stitches are not hard. The size is the challenge. If you have never done cross stitch, make one small project first, such as a cross stitch Christmas ornament.
How long does a cross stitch stocking take?
It depends on the design and how often you stitch. Most people need months.
Can I stitch a stocking for each family member?
Yes. Many families do. Choose designs from the same brand or designer so the stockings look like a set.