Needlepoint Finishing: Do It Yourself or Use a Finisher?
Finishing is everything that happens after the last stitch. It turns a flat piece of stitched canvas into an ornament, a pillow, or a belt. You can do it yourself or send the piece to a professional finisher. This guide explains both paths and the supplies you need for the first one.
What needlepoint finishing means
Finishing covers four jobs: blocking the canvas, trimming the extra canvas, adding a backing, and adding the parts that make it a usable object, such as cord, a zipper, or a pillow insert. Good finishing also protects the stitches from wear.
Blocking comes first
Stitching pulls the canvas out of shape. The continental stitch in particular can turn a square into a slanted diamond. Blocking straightens the canvas and squares the edges. Block the piece before you assemble anything, or the finished item will sit crooked.
Do it yourself or use a finisher?
| Do it yourself | Professional finisher | |
|---|---|---|
| Cost | Lower. You pay for supplies. | Higher. You pay for skilled labor. |
| Control | You decide every detail. | You choose from the options the finisher offers. |
| Skill needed | Basic hand sewing for small items. A sewing machine for pillows and pouches. | None. |
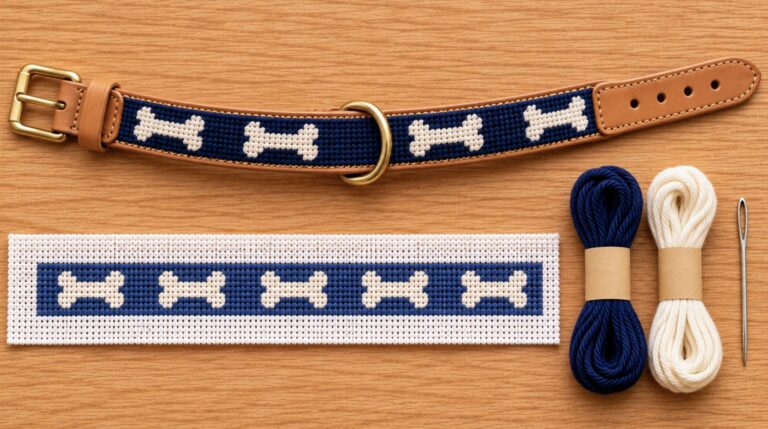
| Best for | Ornaments, patches, simple pillows | Belts, shaped items, heirloom pieces |
Prices and wait times differ from one finisher to the next. Ask your needlepoint shop for both before you hand over a piece, and ask about holiday deadlines if the piece is a gift.
The easiest projects to finish yourself
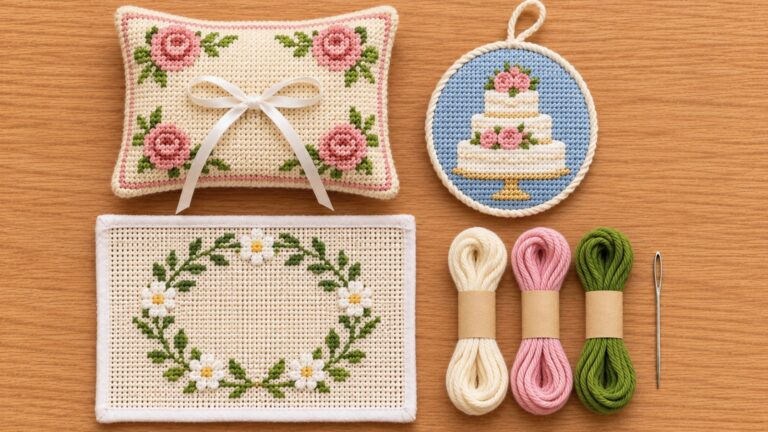
- Ornaments. You back the piece with felt or fabric, then trim or cord the edge. This is one of the quickest and simplest finishes.
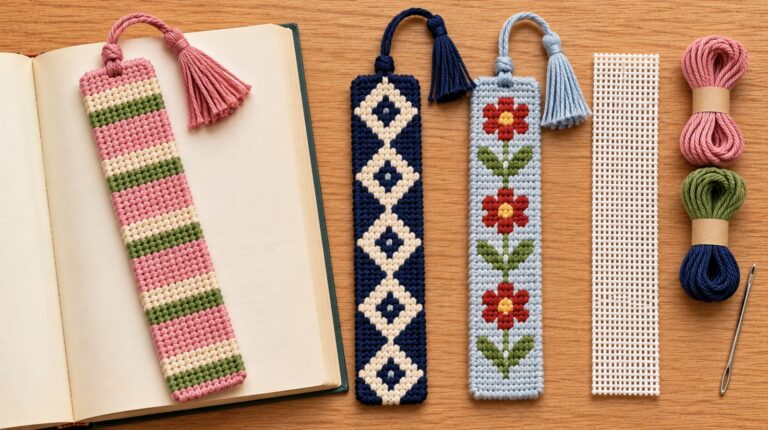
- Patches. You bind the edge, then attach the patch by hand, with fabric glue, or with iron-on adhesive.
- Pillows. You sew the canvas to a backing fabric, add an insert, and close the opening. A zipper is optional.
Stockings and zipper pouches take more sewing. Both do better with a lining.
Needlepoint finishing supplies
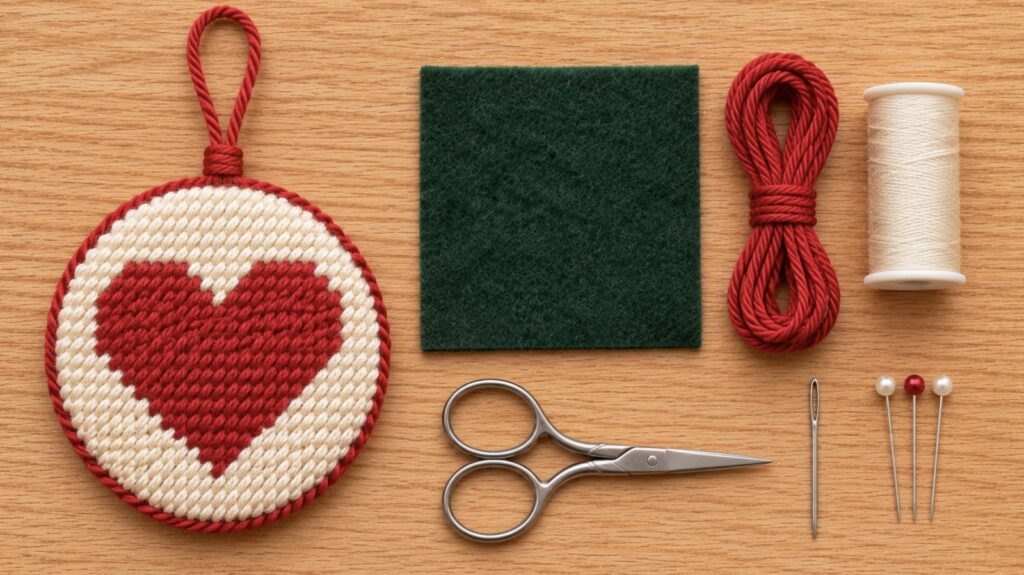
For a small project such as an ornament, you need:
- Backing: felt or fabric
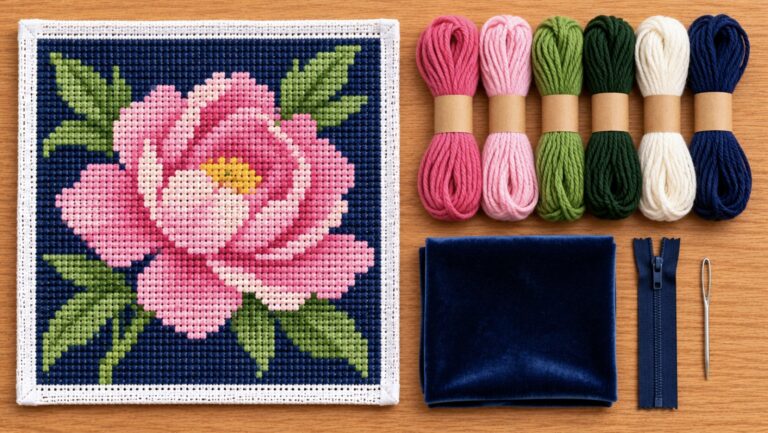
- Cord for the edge and the hanging loop. You can buy it or twist your own from embroidery floss.
- Sewing thread and a hand sewing needle
- Small sharp scissors
- Pins
- Fabric glue, if you prefer to glue the cord on
For pillows, stockings, and pouches, add:
- A basic sewing machine
- Backing fabric, and lining fabric for stockings and pouches
- A zipper for pouches
- A pillow insert that matches the finished size, or one slightly larger for a fuller pillow
How to finish a simple ornament
- Block the stitched canvas so it lies flat and square.
- Trim the extra canvas, leaving a small margin of bare canvas around the stitching.
- Fold the margin to the back.
- Cut a piece of felt to the shape of the ornament and sew or glue it to the back.
- Attach cord around the edge and form a loop at the top.
For ideas, see our guides to needlepoint ornaments and needlepoint stocking canvases.
Plan the finish before you stitch
Decide what the piece will become before you start. A belt needs tough thread. A pillow needs extra canvas around the design. Many painted canvases come in a shape made for one purpose, such as a round ornament or a stocking. Knowing the end use helps you choose the right canvas, thread, and stitches from the start.