How to Frame Cross Stitch: A Step-by-Step Guide
To frame a cross stitch, you wash and press it, stretch it over a board, and put it in a frame. You can do all of it at home with simple tools. This guide walks you through each step, plus the easiest option of all: framing it in a hoop.
What you need
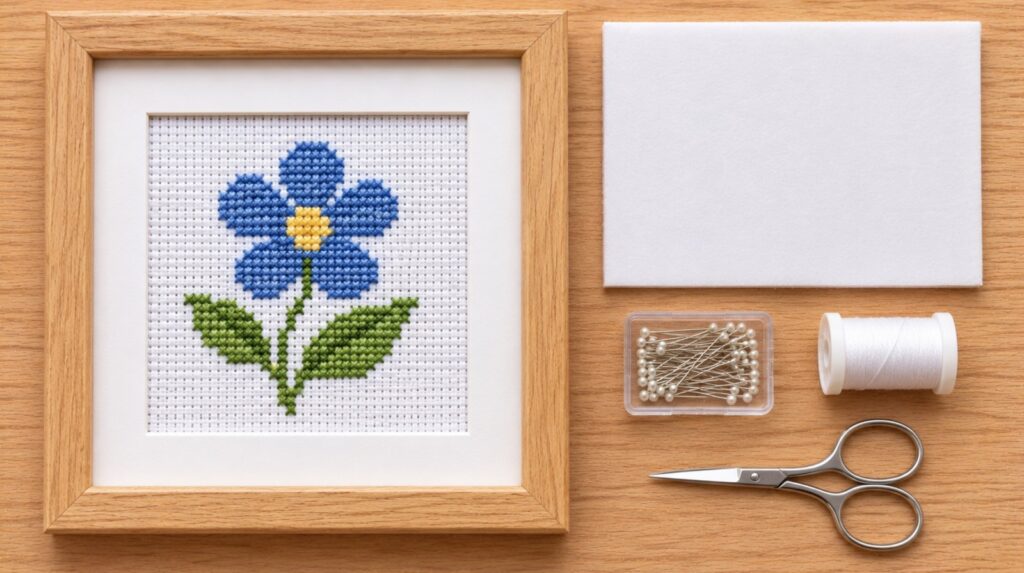
- Your finished cross stitch, with extra fabric on every side
- A frame
- Foam core board or acid-free mounting board
- A craft knife and a metal ruler
- Pins
- Strong thread and a needle, if you plan to lace the back
- A mat or spacers, if you plan to use glass
Leave at least 2 to 3 inches of fabric around the design. You need it to wrap around the board.
Step 1: Wash it
- Fill a clean sink with lukewarm water and a little mild soap. Do not use bleach.
- Soak the piece for 10 to 15 minutes. Swish it gently. Do not rub or wring it.
- Rinse until the water runs clear.
- Lay the piece on a clean towel and roll it up to blot out the water.
Test first if you used hand-dyed or variegated thread. Some colors can run.
Step 2: Press it
- Lay the piece face down on a thick towel while it is still slightly damp. The towel lets the stitches sink in, so the iron does not flatten them.
- Cover it with a thin cloth.
- Press on medium heat and keep the iron moving.
- Let it dry flat before you frame it.
Step 3: Cut the board
Cut the foam core slightly smaller than the opening at the back of the frame. The fabric wraps around the board, and that takes up space. Use a sharp craft knife and a metal ruler.
Step 4: Center and pin
- Lay the stitching face up on the board and center the design.
- Push a pin into the edge of the board at the middle of the top, the bottom, and each side.
- Work outward from the middle of each side. Pull the fabric snug as you go.
- Keep the rows of the fabric straight along the edges of the board.
- Do not pull so hard that the board bends.
Step 5: Secure the back
Turn the board over and fold the extra fabric to the back. Fold the corners neatly. Then choose one of these:
- Lacing. Stitch back and forth across the back with strong thread, from one side of the fabric to the other, then pull the lacing tight. Repeat in the other direction. Lacing holds the fabric drum-tight, and you can undo it later.
- Pins only. For a small piece, the pins in the edge of the board are often enough.
Avoid ordinary glue, tape, and sticky boards. They can yellow the fabric over time. If you use an adhesive board, choose one labeled acid-free.
Step 6: Glass or no glass?
| With glass | Without glass | |
|---|---|---|
| Protects from dust | Yes | No |
| Shows the texture of the stitches | Less | Yes |
| Glare | Possible | None |
| Weight | Heavier | Lighter |
If you use glass, do not let it touch the stitching. Add a mat or spacers to hold the glass away from the fabric.
Step 7: Put it together
- Lay the frame face down.
- Put in the clean glass, if you use it, then the mat.
- Put in the mounted cross stitch, face down.
- Turn it over and check that the design sits straight.
- Add the backing and close the frame.
The easy option: frame it in a hoop
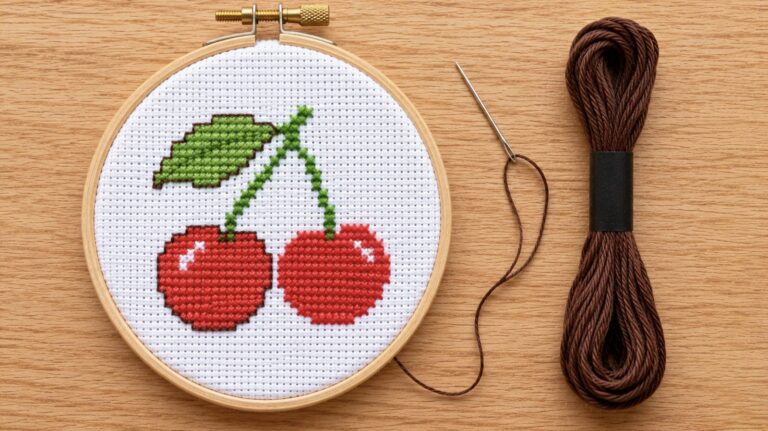
- Center the design in an embroidery hoop and tighten the screw.
- Trim the extra fabric and leave a small margin all around.
- Gather the fabric at the back with a line of stitches, or glue it to the inside of the hoop.
- Cover the back with a circle of felt for a clean finish.
Common mistakes
- Trimming the fabric too close before you frame.
- Letting the glass press on the stitches.
- Pulling the fabric crooked, so the rows slant.
- Using a board that is too big for the frame.
- Using glue or tape that is not acid-free.
Common questions
Do I have to wash a cross stitch before framing?
Washing removes hoop marks and the oils from your hands. If the piece is clean and flat, you can press it and skip the wash.
Should I use glass?
Glass protects the piece from dust. No glass shows the texture better. Both are fine.
Can a framing shop do this?
Yes. Ask for acid-free materials and for the glass to sit off the fabric.
Still stitching? See cross stitch for beginners.